
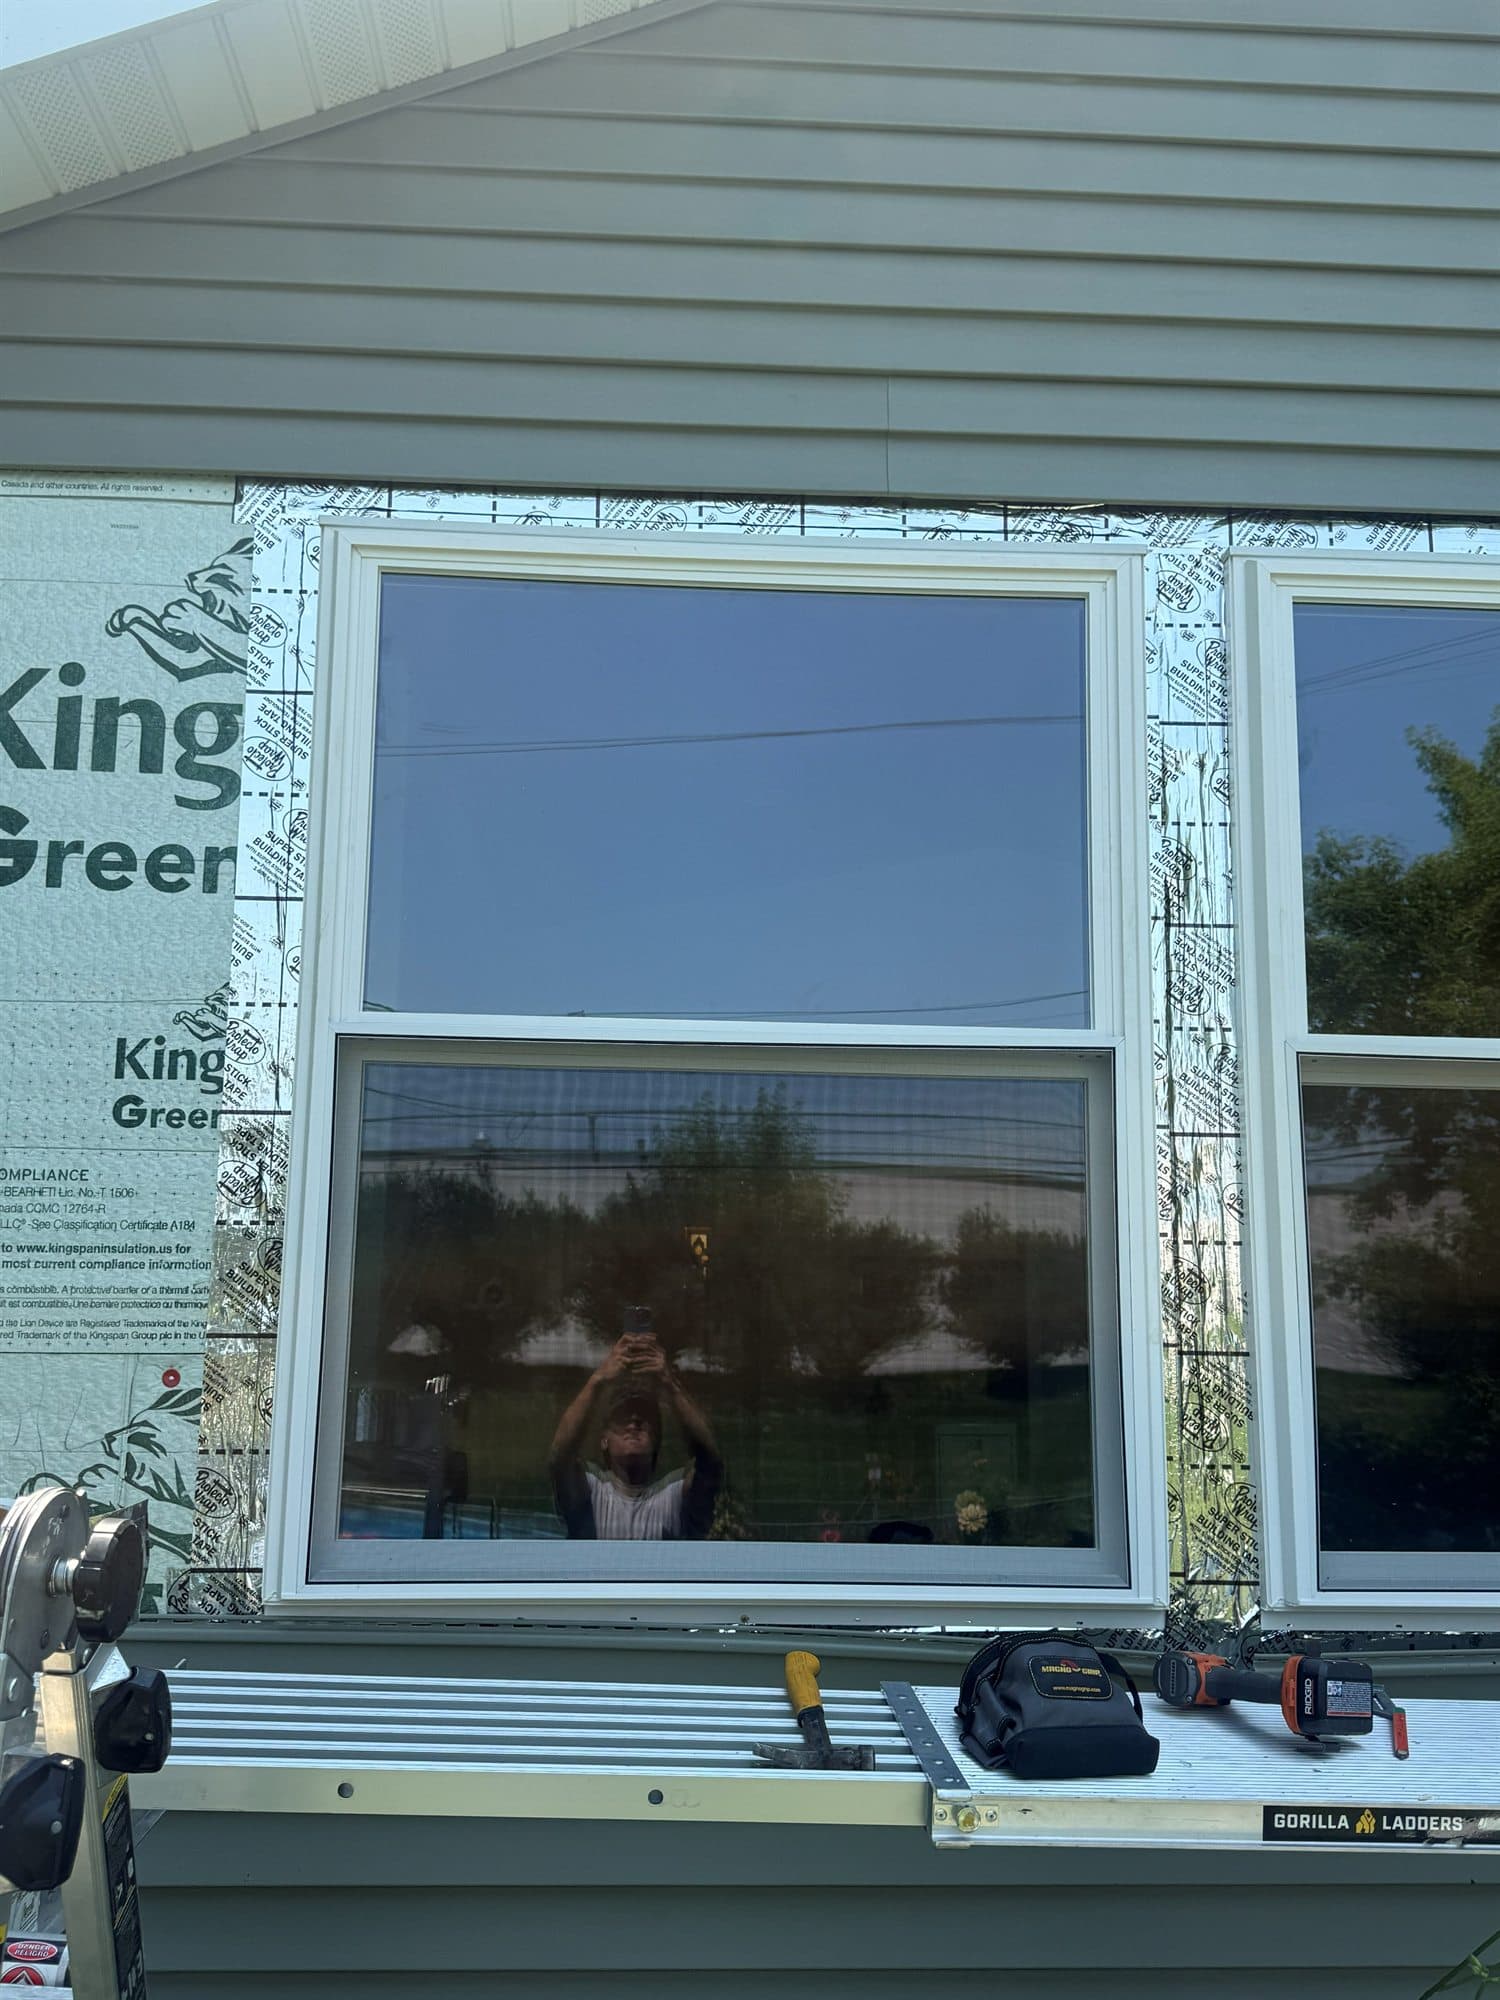
Most drafty, leaking or hard-to-operate new windows are installation problems, not product problems. Eight mistakes account for nearly all of them: no sill pan, reversed flashing, a racked frame, high-expansion foam, stuffed fiberglass with no interior seal, bad shims, caulk in place of flashing, and ignored instructions. Every one is invisible on the day of the walkthrough.
This applies to any Minnesota homeowner with a new window that does not act new, and to any builder who wants fewer year-one callbacks from a window scope.
1. No sill pan or back dam
Water will eventually get past any window: a failed sealant joint, a cracked glazing bead, wind-driven rain up under the sash. A good install plans for it. A sill pan, preformed or a flexible flashing membrane turned up at the back and the ends, catches that water and sends it out over the housewrap. Skip it and the first seal failure drains into the wall framing. This one omission is behind most rotted sills and stained drywall under windows.
2. Flashing installed in the wrong order
Flashing works like shingles: every layer laps over the one below so water always moves down and out. The order is sill pan first, jamb flashing over the sill pan and the side fins, head flashing over the top fin and the jambs, and the housewrap flap folded down over the head flashing and taped. The bottom fin stays unsealed so the pan can drain.
Taping the head flashing under the housewrap instead of over it, or sealing the bottom fin so water is trapped inside, reverses the drainage plane. It looks fine at the walkthrough and leaks in year three.
3. Out of level, plumb or square
A window set even slightly racked never operates right. Sashes bind, locks miss, reveals run uneven and the weatherstrip cannot seal evenly, so the window leaks air at the sash no matter how good the perimeter is. A pro checks level at the sill, plumb on both jambs, square across the diagonals, and that the jambs are straight, not bowed by shims or foam.
4. Over-foaming the frame gap
High-expansion foam blasted into the shim gap bows the jambs inward. That is the classic cause of a brand-new window whose sash suddenly will not slide. The right product is low-expansion window-and-door foam, applied to fill the gap depth and left to expand without pushing on the frame, then trimmed flush. If a new window got harder to open after insulation day, this is why.
5. Fiberglass stuffed in the gap, and no interior air seal
The opposite of over-foaming is just as common: a strip of fiberglass batt pushed into the gap and the casing nailed over it. Fiberglass slows heat a little when it is dry and still. It is not an air barrier. Indoor air moves through it to the cold sheathing, the moisture in that air condenses in the fiberglass, and wet fiberglass insulates almost nothing and can keep the sill damp. Frost on the inside of the jamb in January is the tell.
The fix is two parts. Low-expansion foam fills the gap and stops the air. Then backer rod and sealant, or a continuous foam bead, closes the interior edge between frame and framing before the trim goes on. That interior seal is what keeps warm, damp indoor air off the cold frame. The rule for a cold climate is airtight inside, drainable outside. Stuffed fiberglass with caulk on the exterior is the exact reverse.
6. Missing or misplaced shims
A window needs solid bearing at specific points: under the sill ends and mulls, and at the hinge and lock points on the jambs. Missing shims let the frame sag over time. Shims in the wrong spots bow it. A long screw cranked through an unshimmed jamb pulls the frame out of straight, with the same binding as over-foaming.
7. Caulk as a substitute for flashing
A caulk bead is a maintenance item with a service life. Flashing is a drainage system. An install that relies on perimeter caulk alone, especially at the head where gravity feeds water to the joint, is on a countdown. The right detail puts flashing behind the cladding and uses sealant as the finish layer, not the defense.
8. Ignoring the manufacturer's instructions
Every window ships with installation instructions, and deviating from them does more than risk a leak. In most cases it voids the product warranty for anything the install affects. Fastener type and spacing, required clearances, foam restrictions and flashing sequence all matter to a warranty claim.
The pattern in all eight: invisible at handoff, expensive at year three.
Why does a bad install cancel a good glass package?
Homeowners pay for the glass: Low-E coatings on the inner surfaces of the panes, argon or krypton fill, double or triple pane, and a warm-edge spacer that keeps the glass edge warmer and holds the gas seal. They pay for the frame too: multi-chamber or foam-filled profiles, compression weatherstripping, and a low air leakage rating. The NFRC label reports the whole-unit U-factor and SHGC, and all of Minnesota falls in the ENERGY STAR Northern zone, whose Version 7.0 criteria are the strictest U-factor tier in the program.
Every one of those numbers is measured on a unit with a sealed perimeter. Mistakes 4, 5 and 6 open the perimeter, and air leaking around a frame carries more heat than conduction through good glass. Mistakes 1, 2 and 7 let water in behind it. Mistake 8 means the manufacturer can decline the claim when the homeowner calls. The best glass package sold in Minnesota cannot overcome a hole around the frame.
| What the homeowner notices | Most likely mistake |
|---|---|
| Draft at the casing, frost on the jamb in January | Stuffed fiberglass or empty gap, no interior air seal (5) |
| Sash suddenly stiff after insulation day | High-expansion foam or a screw through an unshimmed jamb (4, 6) |
| Locks miss, uneven reveals | Out of level, plumb or square (3) |
| Stain on the drywall below the window a year or more later | No sill pan, reversed flashing or caulk in place of flashing (1, 2, 7) |
| Fog between the panes | Usually a glass seal failure, not the install; check the glass warranty |
| Claim denied | Instructions not followed (8) |
What JMB Builders does
JMB Builders is a licensed Minnesota residential building contractor (BC809005) based in Zimmerman, working across the Twin Cities metro. We install windows and doors of every brand to the manufacturer's instructions, for homeowners and as a subcontractor for builders who want the window scope off their callback list, and we fix the openings other crews left open. One crew, paid by check or direct deposit. Call 763-204-2099 (text) or send a photo of the openings, per-opening pricing, reply within one business day.
- Window and door subcontracting for builders and GCs — jmbbuildersmn.com/services/contractors
- Warranty callback carpentry: sticking sashes, trim gaps, split caulk — jmbbuildersmn.com/services/builders/warranty-callback-carpentry
- Labor-only installation of windows you bought — jmbbuildersmn.com/services/labor-only
- Trim-out and sealing of replacement windows left bare — jmbbuildersmn.com/services/window-trim/trim-out-replacement-windows-left-bare
Frequently asked questions
Why does my new window leak?
Usually the flashing, not the glass. The head flashing was taped under the housewrap instead of over it, there is no sill pan to catch water and send it out, or a caulk bead is doing the job flashing should do. Water shows up as a stain below the window or a soft sill a year or more after the install.
Why is my new window hard to open?
The jambs are bowed. High-expansion foam in the shim gap pushes them in, and a long screw driven through a jamb with no shim behind it pulls them in. A unit set out of square does the same thing. The fix is to pull the trim, cut out the foam, reshim and refasten, not a new window.
Why is my new window drafty when the glass is rated so well?
The rating was measured with a sealed perimeter, and yours probably is not. Pull the casing and look at the gap between the frame and the framing. Stuffed fiberglass or nothing at all means indoor air is moving around the frame, and that leak outweighs what the Low-E glass and argon save. Low-expansion foam and a backer rod and sealant bead at the interior edge fix it without touching the window.
Can a window be installed with just caulk and no flashing?
It can be, and it is the mistake behind a lot of leaks. Caulk is a finish layer that dries out and splits over time. Flashing behind the cladding is what keeps water out for the life of the wall. Sealant belongs on top of a flashed opening, not in place of it.
Does a bad installation void the window warranty?
In most cases, yes, for the parts the installation affects. Manufacturers spell out fastener type and spacing, clearances, foam limits and flashing sequence, and a claim that traces back to a deviation is usually denied. Keep the instructions and photos of the opening before the trim went on.
Can a badly installed window be fixed without replacing it?
Often. Bowed jambs, missing shims, stuffed fiberglass and a packed foam gap are fixed from inside by pulling the trim, correcting the gap, sealing the interior edge and refastening. A missing sill pan or reversed flashing means opening the exterior around the window to redo the flashing. If the frame has rotted from the leak, it is a full-frame replacement.