
Tray Ceiling Trim — Crown and Molding in a Stepped Ceiling
Builders leave the tray as a drywall step. Crown at both edges, run tight and coped, is what makes it read as a ceiling detail instead of a drop.
JMB Builders installs tray ceiling trim across the Twin Cities metro: crown molding at the top edge inside the tray, a second crown or a flat band at the lower edge where the drop meets the ceiling, molding on the angled sides of a beveled tray, and a ledge for rope or LED light when you want one. Corners are coped, joints are filled, everything is primed. Priced per room, quoted from your photos within one business day.
- Priced per room, one tray or stepped trays
- Crown at the upper and lower edges, coped corners
- Rope-light ledge built in when wanted
- Quote from photos in 1 business day
- Licensed MN contractor BC809005
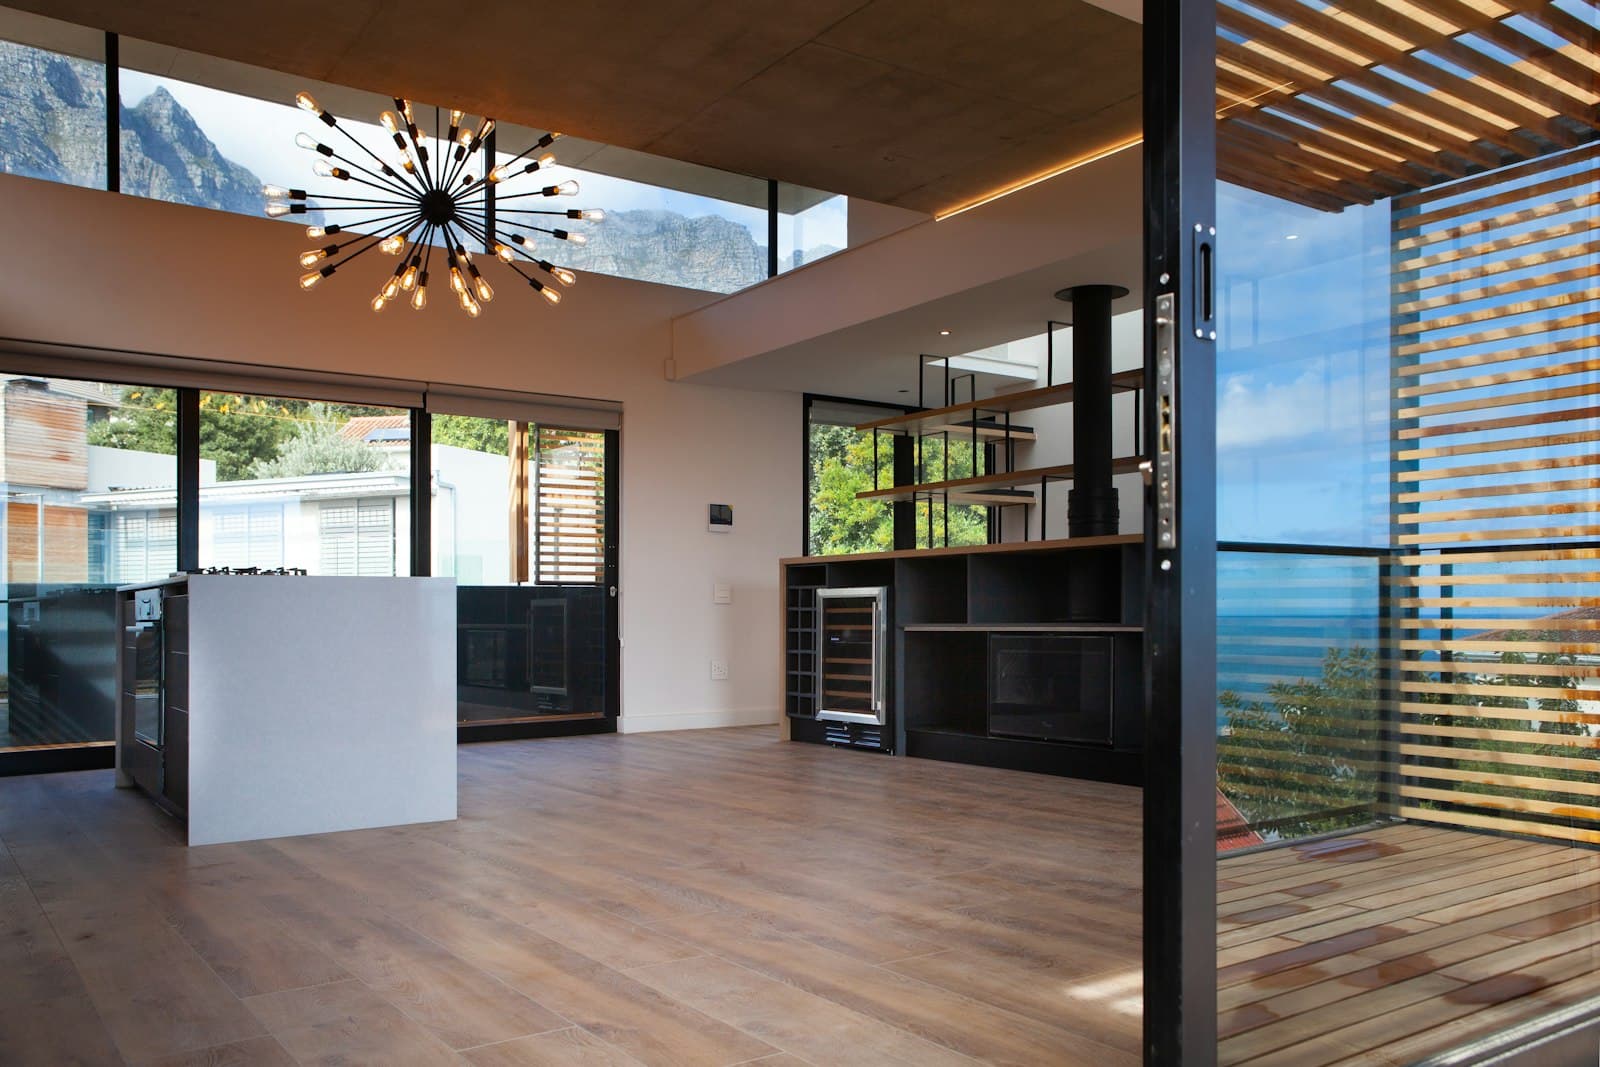
A tray ceiling is the raised center section in a primary bedroom, a dining room or a great room, dropped at the edges by a foot or so and finished in drywall by the builder. Most were never trimmed. The step is a bare drywall corner bead, the inside corners are rounded, and the tray reads as a hole in the ceiling. JMB Builders trims tray ceilings across the Twin Cities metro so the step becomes a molding detail: crown at the top edge where the tray wall meets the raised ceiling, and crown or a band at the lower edge where the drop meets the main ceiling.
A tray has twice as many corners as the room and every one of them is inside the tray, up a ladder, at a corner that is often not square. We cope the inside corners instead of mitering them, so the joint stays closed when the ceiling moves in winter, and we set the crown on a layout line snapped around the whole tray so it stays level even when the drywall does not. A beveled tray, where the sides slope instead of standing straight, gets a molding that sits on the slope and a crown sized so the two do not fight.
The trim goes on primed, filled and caulked. Painting is quoted as a separate line, or leave it primed and paint it yourself. Painting the inside of the tray a different color than the ceiling is the usual finish, and the crown is the line between the two.
What you supply
- A photo of the tray from the doorway and one straight up from the middle of the room, plus the room size and the depth of the step
- How much trim you want: crown at the top edge only, both edges, or both plus the sides
- Whether you want a rope or LED light ledge; the electrician wires the power, we build the ledge
- Your paint colors if you want us to paint it; painting is quoted as a separate line, or paint it yourself
What JMB supplies
- Primed MDF or finger-joint pine crown for the upper edge, sized to the depth of the tray and the ceiling height
- A second crown, a cove or a flat band with a cap at the lower edge where the drop meets the main ceiling
- A panel molding or flat casing on the vertical or beveled sides of the tray when the style calls for it
- Inside corners coped, outside corners mitered and glued, all set to a level layout line around the tray
- A ledge or a lip molding for rope or LED light, set so the light bounces off the tray and the strip is hidden from the doorway
- Nail holes filled, joints caulked, all primed; painting quoted as a separate line
- Photos of the finished ceiling in your job folder
How it is priced: per room
Quoted in writing from your photos within one business day. What moves the number:
- Size of the tray and how many corners it has; an octagonal or a double-stepped tray has many more
- Crown at the top edge only, both edges, or a full treatment with side molding
- Straight tray walls vs. beveled sides, which take a molding that sits on the slope
- Ceiling height and whether the room needs staging to work in the tray
- A rope or LED light ledge, and whether the electrician's rough-in is part of the quote
- Crown profile size and whether it has to match crown already in the house
- Painting as a separate line, or primed for you
Send a photo of the tray from the doorway and the step depth. Say which edges you want trimmed and the quote is firm.
How long it takes
A single rectangular tray with crown at both edges: a day. A double-stepped or octagonal tray, or one with a light ledge: two days. Painting adds a day after the primer cures.
How your project works
- 1
Send photos, get a written quote
Send three photos of the space and a sentence about what you want. You get a clear, itemized quote within one business day. We only come out to measure first when the job needs a tape measure — no pressure, no games.
- 2
Pick materials, or bring your own
We help you choose profiles and materials that fit the house and the budget, or match your existing millwork exactly — or you buy the door or trim yourself and we install it. Everything is confirmed before the crew is scheduled.
- 3
Clean, precise installation
The crew shows up on time, protects floors and furniture, and installs with tight joints and consistent reveals. Photos of the finished work go in your job folder.
- 4
Walkthrough and invoice
We walk the finished work with you. If anything is not right, we fix it before we call the job done. Then one invoice, paid by check or direct deposit — no card fees, no payment links.
Situations and options
Crown at the top edge
One crown inside the tray where the vertical wall meets the raised ceiling. The minimum that makes the tray read as a detail, and the right choice when the room has no other crown.
Crown at both edges
Crown at the top edge and a smaller crown or a cove at the lower edge where the drop meets the main ceiling. Frames the step from both sides and lets the inside of the tray take a second color.
Beveled tray with side molding
A tray whose sides slope instead of standing plumb. Molding is bedded on the slope, and the crown at the top edge is cut to the angle between the slope and the ceiling.
Rope light ledge
A shelf or a lip molding near the top of the drop that hides an LED strip and throws light up onto the raised ceiling. The electrician brings power to the tray; we build the ledge and the crown around it.
Tray Ceiling Trim — Crown and Molding in a Stepped Ceiling: questions, answered
Where does the crown go in a tray ceiling?
Two places, and you can do one or both. The first is the top edge inside the tray, where the vertical drop meets the raised center; that crown is the one everyone sees from the bed or the table. The second is the lower edge, where the drop meets the main ceiling; a smaller crown or a cove there frames the step from below. Trimming only the lower edge and leaving the inside bare is the one combination that looks unfinished.
How do you handle the corners inside a tray ceiling?
Inside corners are coped: the first piece runs into the corner square, and the second is cut to the profile of the first so it fits over it. A coped corner stays tight when the drywall moves with the seasons; a mitered inside corner opens. Outside corners on a stepped tray are mitered and glued. Tray corners are rarely square, so we test the angle at each one instead of assuming.
Can you put crown in a tray ceiling with angled sides?
Yes. A beveled tray, where the sides slope up to the raised ceiling, takes a crown cut to the angle between the slope and the flat, which is not the standard spring angle. We set the crown with a bevel block for that angle so the top and bottom edges both bed tight. A flat panel molding on the slope itself is an option too, sized so it does not compete with the crown.
Can you build a ledge for rope or LED lighting in the tray?
Yes. A ledge is a small shelf or a lip molding near the top of the drop that hides an LED strip and lets the light wash up across the raised ceiling. We set the height so the strip cannot be seen from the doorway or the bed, and leave a channel for the strip and its power lead. A licensed electrician brings the power to the tray and connects the strip; we build the ledge and the trim around it.
What size crown should go in a tray ceiling?
Smaller than you would think. The crown sits inside a step that is usually a foot or so deep, and a big crown fills the step and looks heavy from below. A medium crown at the top edge and a smaller one or a cove at the lower edge keeps the step in proportion. If the room already has crown at the walls, the tray crown is one size down from it so the hierarchy reads right.
Should the inside of the tray be painted a different color?
It is the usual way to finish one, and the crown makes it work. The raised ceiling inside the tray takes a deeper color or the wall color, the crown is the trim color, and the main ceiling stays white; the crown is the line where the colors change, so there is no taped edge to get wavy. Painting is quoted as a separate line on the trim job, or leave it primed and paint it yourself.
Get a written quote for this job
Three photos and a sentence is enough. You hear back within one business day. Or text the photos to 763-204-2099.
Related jobs we do
Crown Molding Installation
Crisp corners, seamless joints, and profiles that fit your home — crown molding installed by a licensed Minnesota contractor who treats trim as a craft, not an afterthought.
Read moreCoffered Ceiling Installation and Box Beams
A flat eight-foot ceiling becomes the best thing in the room. The trick is the layout and what the beams are screwed to; we do both before a beam is built.
Read moreCeiling Medallion Installation — Around a Chandelier or Light
A medallion is a piece of trim that happens to be round and overhead. Centered, fastened into framing and blended into the ceiling, it looks like plaster. Stuck up with adhesive alone, it sags.
Read moreBeadboard Ceiling Installation — Porch or Interior
A beadboard ceiling hides a bad popcorn ceiling inside and turns a plain porch into a place to sit. The job is the furring, the layout and the edge; we do all three.
Read moreTrim Painting and Interior Door Painting After Installation
New trim is only finished when it is painted. We do that part too: fill, caulk, prime, enamel, and the doors sprayed flat, sequenced with the carpentry so the room is done once.
Read moreAttic Hatch Trim — Casing, Painted Panel and Insulated Lid
The scuttle hole with a raw drywall edge and a loose square of drywall dropped on top of it: we case it, build a real lid, seal it and insulate it.
Read morePage reviewed September 24, 2026 · JMB Builders LLC, MN license BC809005 · All finish carpentry pages
Where we work
Finish carpentry near you
Based in Zimmerman, scheduling across the Twin Cities metro. Closest first: