
Drip Cap Installation Above Doors and Windows
Water stains at the top corners of the casing, paint peeling off the head trim, rot showing up at the bottom of the door: the house is missing a drip cap. We add one without tearing off the siding.
A drip cap above a door or window is a bent piece of metal that sends water out over the trim instead of behind it. JMB Builders installs drip cap on existing homes across the Twin Cities metro: we lift the siding above the head trim and tuck the flange behind it, or cut a sealed kerf into stucco, bend the ends out past the casing, and caulk only the top edge. Priced per opening, quoted from photos.
- Priced per opening
- Siding, stucco, brick and garage door headers
- Ends kicked out so water leaves the trim
- Quote from photos in 1 business day
- Licensed MN contractor BC809005
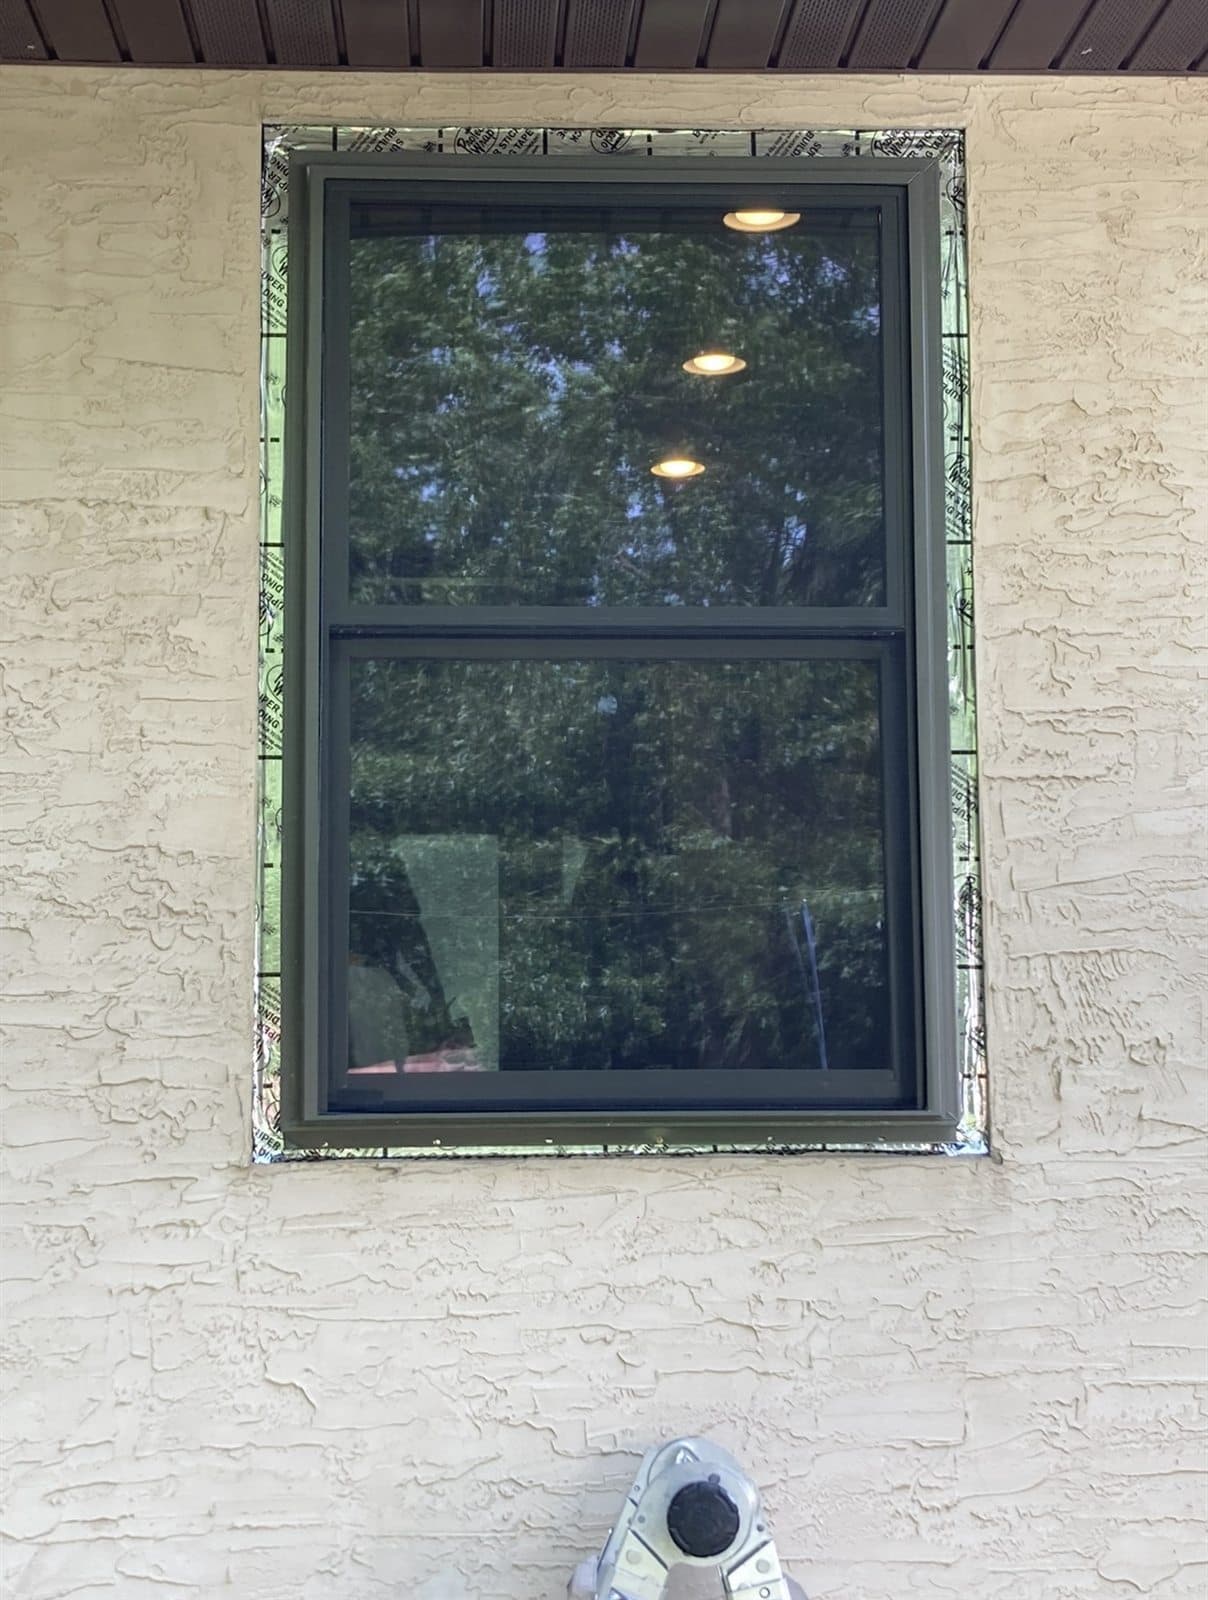
Every door and window head needs a way to shed the water that runs down the wall above it. On a new build that is a drip cap tucked under the house wrap. On a lot of older homes in the metro, and on plenty of newer ones, it was never installed. The head trim was caulked to the siding and called good. Caulk shrinks, cracks, and by the third winter the water is going behind the trim, down the jambs, and out the bottom as rot.
Retrofitting a drip cap is a small job that has to be done in the right order. The flange has to go behind whatever is above it, siding or house wrap, so water coming down the wall lands on top of the cap. The ends have to run past the side casings and get bent down, a kick-out, so the water drops off the corners instead of running around them. Then the top edge gets sealed and the bottom edge is left alone to drip.
Stucco is the one that takes some care. There is nothing to tuck the flange behind, so we cut a clean kerf into the stucco just above the head trim, set the flange into it with sealant, and run the cap the full width of the opening. A continuous drip cap on stucco keeps the water off the trim without cutting the wall open.
What you supply
- Photos: the top of the door or window straight on, the corner where the head trim meets the siding, and a shot of what is above it
- Color if you want the cap to match the trim: white, brown, tan and mill finish are common, or it can be painted with the trim
What JMB supplies
- Aluminum or galvanized drip cap cut to the width of the opening plus the kick-outs
- Removal and re-fastening of the siding course above the head, or a kerf cut in stucco
- Flashing tape to tie the cap into the house wrap when we can reach it
- Exterior sealant at the top edge only, with the bottom left open to drain
- Replacement of head trim that is already rotted, quoted from the photos
- Photos of the finished head in your job folder
How it is priced: per opening
Quoted in writing from your photos within one business day. What moves the number:
- Lap siding, which lifts, vs. stucco or brick, which has to be cut
- Width of the opening: a garage door header is a longer cap and two people
- Whether the head trim under the cap is already rotted and needs replacing
- Working height: second-floor windows take staging
- How many openings in the same visit; the ladder is already up for the second one
Tell us what the siding is (vinyl, LP, cedar, stucco, brick) and send a straight-on photo of the top corner. That is enough to quote.
How long it takes
One door or window on siding: an hour or two. Stucco takes longer for the kerf and cleanup. A whole house of windows is usually a day.
How your project works
- 1
Send photos, get a written quote
Send three photos of the space and a sentence about what you want. You get a clear, itemized quote within one business day. We only come out to measure first when the job needs a tape measure — no pressure, no games.
- 2
Pick materials, or bring your own
We help you choose profiles and materials that fit the house and the budget, or match your existing millwork exactly — or you buy the door or trim yourself and we install it. Everything is confirmed before the crew is scheduled.
- 3
Clean, precise installation
The crew shows up on time, protects floors and furniture, and installs with tight joints and consistent reveals. Photos of the finished work go in your job folder.
- 4
Walkthrough and invoice
We walk the finished work with you. If anything is not right, we fix it before we call the job done. Then one invoice, paid by check or direct deposit — no card fees, no payment links.
Situations and options
Drip cap on lap siding
We loosen the course above the head, slip the flange up behind it, tie it to the house wrap with flashing tape where we can reach it, re-nail the siding and seal the top edge.
Continuous drip cap on stucco
A kerf cut into the stucco just above the head trim, the flange set into the kerf with sealant, the cap run past the side casings and kicked out. No demolition of the stucco.
Garage door header
The longest and most-missed drip cap on the house. The wide header trim above a garage door takes the most water and is usually caulked instead of flashed. We run a continuous cap the full width.
Drip cap plus rotted head trim
When the water has already ruined the head trim, we replace it in PVC and set the drip cap over it in the same visit. One trip, one invoice.
Drip Cap Installation Above Doors and Windows: questions, answered
What is a drip cap and does my door need one?
A drip cap is an L-shaped piece of metal flashing that sits on top of the head trim above a door or window, with the vertical leg tucked behind the siding or house wrap. Water running down the wall lands on it and drips off the front edge instead of running behind the trim. Every exterior door and window head that is not protected by a deep overhang needs one. If yours has caulk where the trim meets the siding and nothing else, it is missing.
Can you add a drip cap to an existing door without removing the siding?
Yes. On lap siding we loosen the one course above the head trim just enough to slide the flange up behind it, then re-fasten it. On stucco or brick there is nothing to tuck behind, so we cut a shallow kerf above the trim and set the flange into it with sealant. Either way the siding stays on the house.
How is a drip cap installed on a stucco house?
With a kerf. We cut a straight, shallow slot into the stucco just above the head trim, clean it out, run a bead of sealant in the slot and set the top leg of the drip cap into it. The cap runs the full width of the trim and past it on both ends, with the ends bent down as kick-outs. This is the continuous drip cap you see on well-detailed stucco homes and it is the fix for water stains at the top corners of the casing.
Why is caulk alone not enough above a door or window?
Caulk is a gasket, not a roof. It shrinks as it cures, it cracks when the trim and the siding move at different rates through a Minnesota winter, and once there is a hairline gap the water goes in and cannot get out. A drip cap works by geometry, not by adhesion: water lands on it and falls off the front. The only caulk that belongs on a drip cap is a bead along the top edge; the bottom edge stays open.
What are the bent ends on a drip cap for?
Those are kick-outs. The cap runs an inch or so past each side casing and the ends are bent down. Without them, water running along the cap turns the corner and runs down the side of the casing, which is exactly the joint you are trying to protect. With them, the water drops off the ends and lands on the siding below.
Do you install window drip cap flashing on the whole house at once?
Yes, and it is the most efficient way to do it. Once the ladder and staging are up we work around the house window by window, so the per-opening price drops after the first one. Send a photo of each side of the house and we will count the openings and quote it as one job.
Get a written quote for this job
Three photos and a sentence is enough. You hear back within one business day. Or text the photos to 763-204-2099.
Related jobs we do
Rotted Door Trim Replacement — Casing, Brickmould & Flashing
The paint is bubbling at the bottom of the door casing and a screwdriver sinks right in. We replace the rotted trim and fix the water path that caused it, so it stays fixed.
Read morePVC Exterior Trim Replacement — Swap Rotting Wood for Cellular PVC
You have painted the same trim three times and it still rots at the bottom. Cellular PVC ends that, as long as it is flashed, glued and fastened the way the material needs.
Read moreGarage Door Jamb Rot Repair & Weather Seal Replacement
The bottom foot of the garage door jamb is soft, the stop molding is curling, and you can see daylight beside the door. We replace the rot in PVC and put on a stop that actually seals.
Read moreWindow Trim & Casing for New Construction
Wood jambs and casing added to every window and patio door your builder wrapped in drywall — installed after closing, before or after you move in, by a licensed Minnesota contractor.
Read moreCorner Board Replacement — Rotted Exterior Corner Trim
The bottom of the corner board is soft, the paint is lifting in sheets, and the siding ends behind it are starting to go too. We replace the corner, flash it, and tie the siding back in so it stays dry.
Read moreDeck Railing Repair — Loose Posts, Rails and Balusters
Lean on the deck rail and it moves. A post is loose, a top rail is soft, or half the balusters are split. We anchor it so it holds a person, and replace only what needs replacing.
Read morePage reviewed September 24, 2026 · JMB Builders LLC, MN license BC809005 · All exterior trim pages
Where we work
Exterior trim near you
Based in Zimmerman, scheduling across the Twin Cities metro. Closest first: