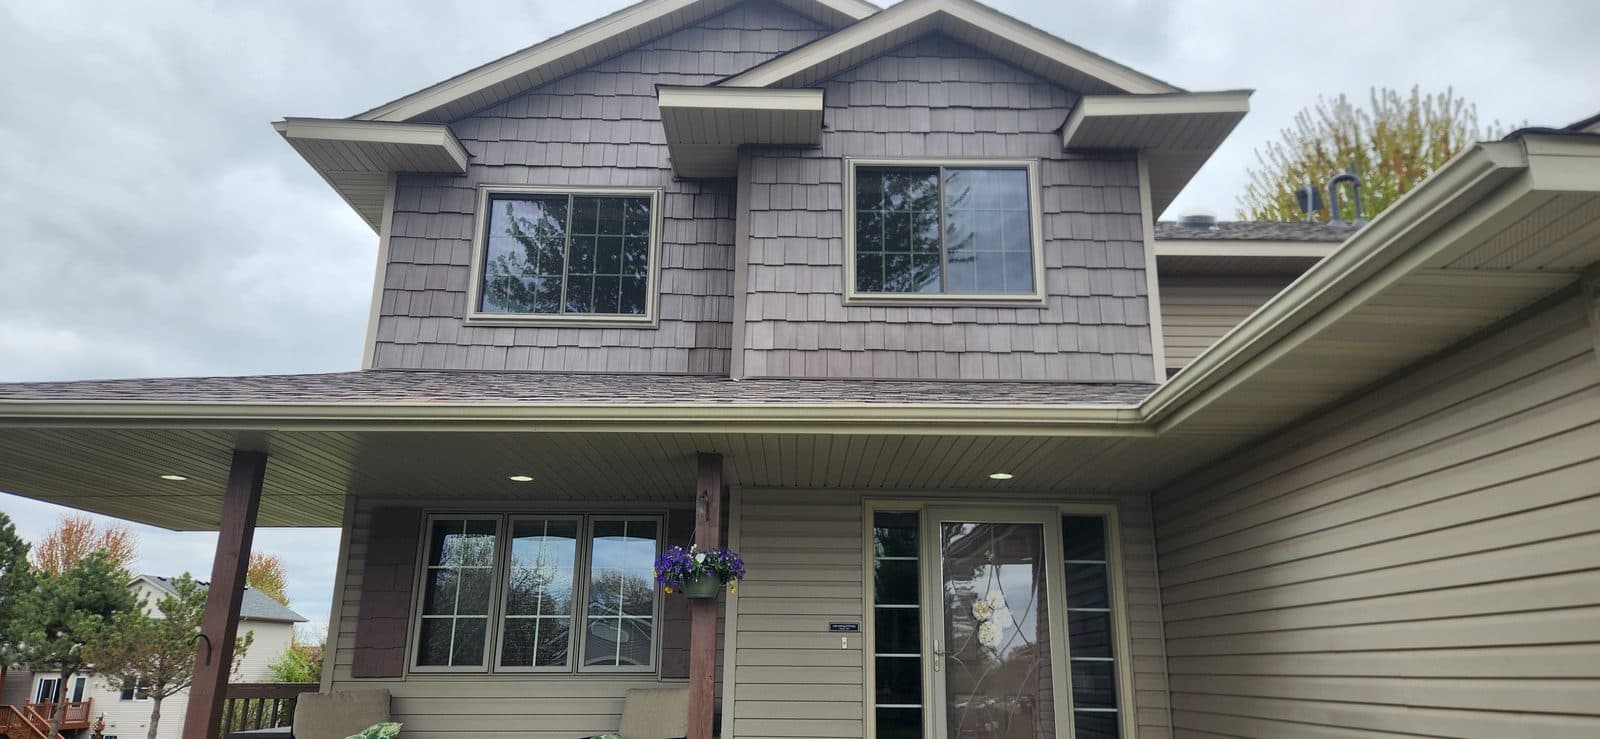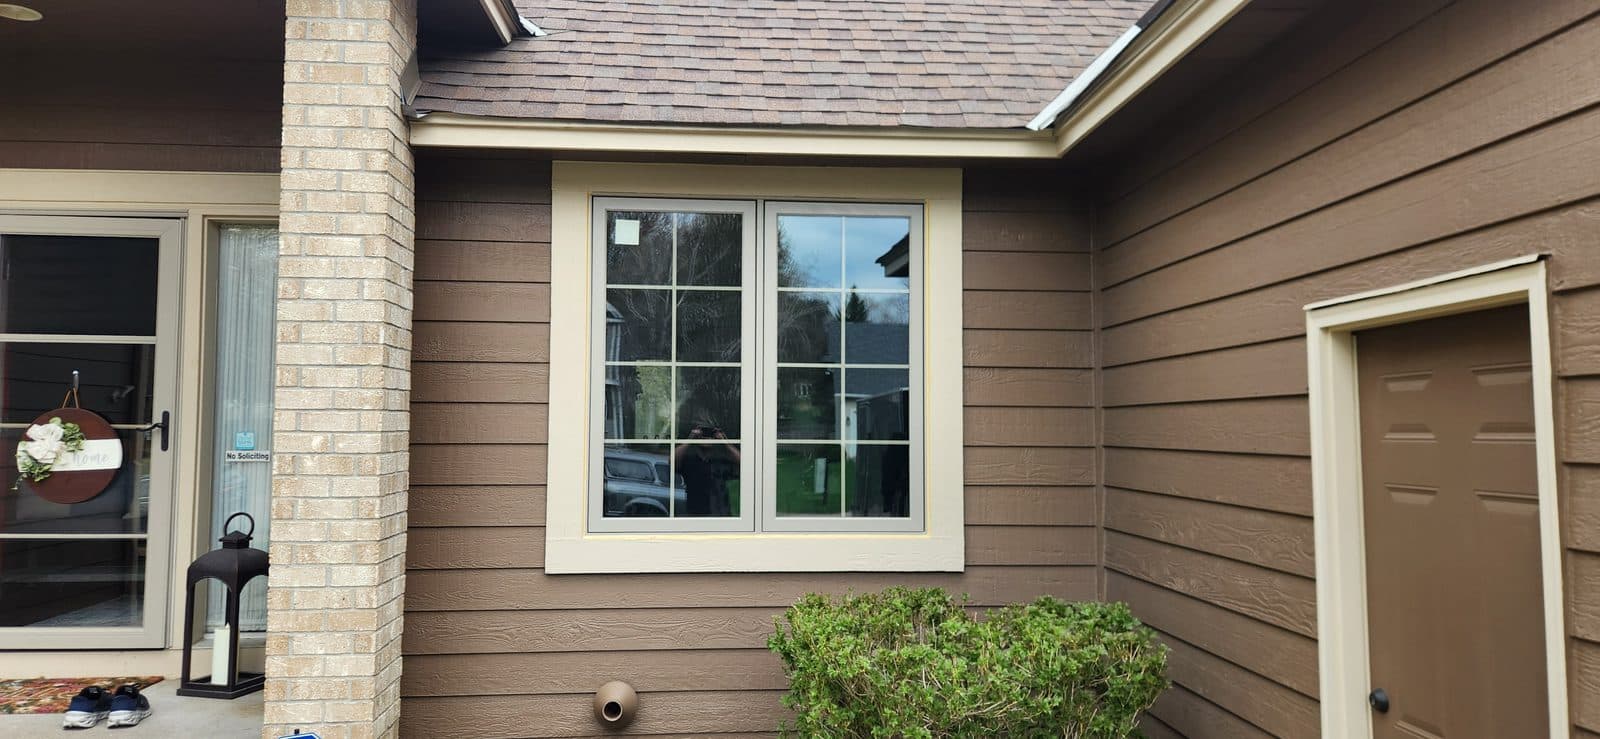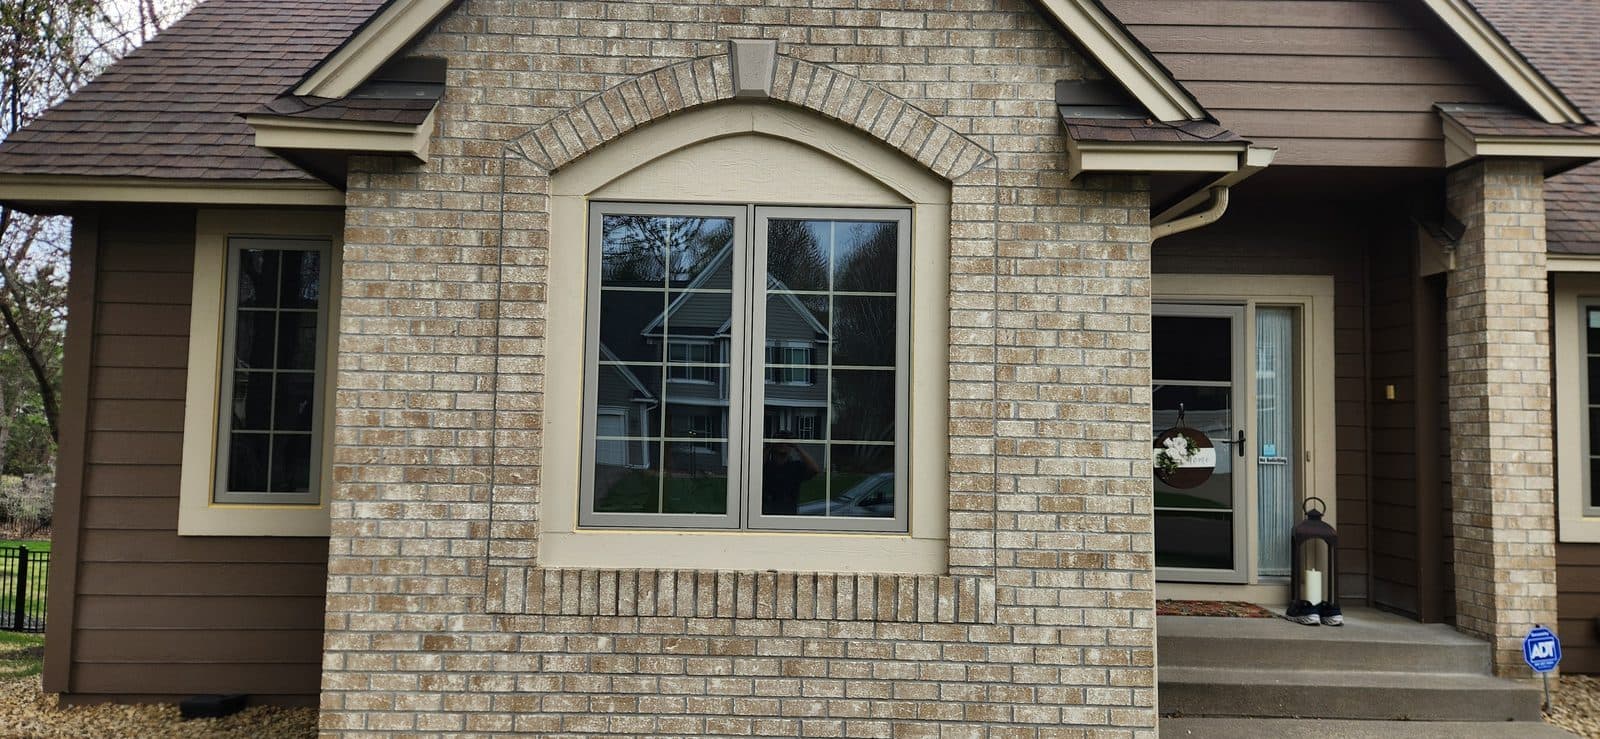
Getting ready for window installation is easy: take down the blinds, clear 3–6 feet in front of each window, give the crew a path outside, and put pets somewhere safe. The crew handles the messy parts, protection, tear-out, foam and sealing, cleanup and haul-away. Knowing what happens at each opening also tells you what to look at before they leave.
This is the checklist we send Twin Cities homeowners before installation day. It applies to full-service replacements and to labor-only installs of windows you bought.
What should you do inside before window installation?
For each window being replaced:
- Take down curtains, blinds and drapery hardware. If we agreed to reinstall them, leave the hardware labeled by room.
- Clear a 3–6 foot working area in front of the window. Slide furniture away and move breakables.
- Take down wall decor near the opening. Removal vibration shakes frames and shelves.
- Clear the sill completely: plants, decor, electronics.
- Disarm window alarm sensors and tell us which windows have them so the wiring is handled.
What should you do outside before the crew arrives?
Trim back shrubs or move planters that block a window, unlock gates, move vehicles so there is driveway room for the trailer and materials, and put away hoses and other trip hazards. In winter, a shoveled path to each side of the house is a real help. Accessible is the goal, not perfect.
What about kids, pets and daily life?
Installation is loud in bursts and involves open wall openings, sharp debris and a lot of door traffic. Crate pets, gate them away from the work, or send them off-site. Kids treat work areas as off-limits. You do not need to leave. Most homeowners pick a room away from the day's sequence, and we tell you the order the rooms will be done.
What happens at each opening on installation day?
Knowing the sequence tells you what you are looking at when you walk past an open window, and what to check before the trim goes on. For a typical insert replacement:
- 1Protection. Floor runners in the path, a drop cloth under the window, and plastic across the room door if the tear-out will be dusty.
- 2Tear-out. Interior stops come off, the old sashes and balances come out, and the old frame is checked for rot at the sill and lower corners. On a full-frame job the whole old frame comes out back to the rough opening.
- 3Sill pan. A pre-formed or flexible-flashing pan, or a sealant bed on an insert, goes on the sill first so any water that ever gets past the window drains out instead of down into the wall. On a full-frame job, flashing tape is lapped shingle-style up the jambs and over the head.
- 4Set and fasten. The new unit goes in, gets shimmed plumb and square at the hinge and lock points, and is fastened through the frame or the nailing fin.
- 5Foam. The gap between the new frame and the wall, usually a quarter to a half inch, is filled with low-expansion window and door foam, front to back. High-expansion foam bows frames and never goes near a window.
- 6Air seal. Once the foam skins, it is trimmed flush and the interior edge gets backer rod and a bead of sealant. That bead, not the foam, is what stops air. Outside, the joint is caulked with the sill weeps left open.
- 7Trim and hardware. Stops or casing go back on, the screen is hung, and every sash and lock is worked.
What does the crew handle?
Floor and furniture protection in the work paths, dust control at each opening, removal and haul-away of the old windows and debris, vacuuming the work areas at the end of the day, and a walkthrough of every window, operation, locks and screens, before we leave. If anything is not right, installation day is when to say so.
Questions before your install? Send three photos of the windows and you have a reply within one business day, and one point of contact from measure through the final walkthrough.
What should you check at the final walkthrough?
Walk every window with the crew and check these before signing off:
- Operation. Every sash opens, closes and locks without force. On a casement the sash pulls tight to the compression weatherstrip all the way around when locked.
- The NFRC label. Peel it and keep it. It lists the U-factor, SHGC and air leakage rating for that exact unit, and you need it for any utility rebate paperwork and for the warranty file. A U-factor of 0.22 or lower is the ENERGY STAR Version 7.0 mark for Minnesota's Northern zone; standard double-pane low-E argon runs around 0.27–0.30.
- The glass. No scratches, the low-E coating and argon are inside the sealed unit where you cannot see them, but the spacer at the glass edge should be straight and the unit should be free of haze between the panes.
- The seal lines. A continuous bead of sealant on the interior edge where the frame meets the trim or the wall, and a continuous exterior bead with the sill weep holes left open.
- The trim. Casing tight to the wall and the frame, joints filled and caulked, primed and ready for paint. Painting is quoted as its own line, or leave it primed and caulked and paint it yourself.
- Screens and hardware. Every screen present and seated, every lock and crank working.
What JMB Builders does
JMB Builders is a licensed Minnesota residential building contractor (BC809005) based in Zimmerman, working across the Twin Cities metro. One crew does the tear-out, the install, the foam and sealing, the trim and the cleanup, and we install every brand without selling any. Paid by check or direct deposit. Call 763-204-2099 (text) or send photos through the site.
- Full-service window and door replacement, measured and ordered by us — jmbbuildersmn.com/services/full-service
- Labor-only installs of windows and doors you bought at a store or online — jmbbuildersmn.com/services/labor-only
- Trim-out after the windows go in: jamb extensions, casing, stool and apron — jmbbuildersmn.com/services/window-trim
- Send three photos and we reply within one business day.
Frequently asked questions
Do I need to remove blinds before window installation?
Yes. Take down blinds, curtains and the drapery hardware at each window being replaced. If you want the same hardware put back, leave it labeled by room. New windows often change the frame depth, so some old brackets will not go back in the same holes.
Do I have to move furniture for window installation?
Move it 3–6 feet back from each window so the crew can work the opening and lay floor protection. Heavy pieces can be slid rather than carried out. Anything breakable on shelves or walls near the window should come down, because pulling an old frame shakes the wall.
Do I need to be home during window installation?
Be there at the start to walk the order of rooms and at the end for the walkthrough of every window. In between you can leave or work from a room away from the crew. Someone needs to be reachable during the day in case a question comes up at an opening.
Where should my dog be during window installation?
Crated, gated in a room the crew will not enter, or at a friend's for the day. Doors are open all day and there are open wall openings and sharp debris. A curious dog and an open opening is the one situation to plan around.
How messy is window replacement?
Louder and dustier than you expect at each opening, then cleaned up. The crew lays floor protection in the work paths, controls dust at the opening, hauls the old windows and debris, and vacuums at the end of the day. Full-frame replacements make more dust than inserts.
What should I check before the crew leaves?
Walk every window with the crew. Open and close each sash, work the locks, check the screens, look at the caulk lines inside and out, and look at the trim. Keep the NFRC label from each unit for the rebate and warranty file. Installation day is when to say something is not right.